Ok, finally finished texturing, which is good. We had to amend our schedule though, to allow more time. This wasn't too drastic a step as we had allowed time when we were making our timetable in case things went wrong. I think I fell behind for two reasons. Firstly, I had to learn how to texture which I had never done before, and assumed it would be quite easy. It wasn't, at first anyway. Really glad that I've come to the stage now where I can look back and wonder how I found it hard, but those first two days were really hard. BIG thank-you to the Dans, especially Dan C. Dan C went over how to texture with me every time I got stuck and taught me Photoshop. I already knew the basics of Photoshop as I had taught myself over the summer, but Dans knew it to much more detail and seeing as we were making our own textures by combining our images from Barcelona as well as web sources I had alot to catch up on. Dan R also helped when I got stuck. So it was two days of intensive Photoshop teaching for me, with added texturing lessons. The thing with me is, once it's clicked in my head, I suddenly know exactly what I'm doing and can continue from there. But I guess that's the same for everybody. I don't really know how to explain! Ah well......... The second reason I fell behind was because I didn't realise just how long it would take to texture. Me and Dan R who were doing our texturing at the same time turned out to be perfectionists. Obviously we had to take time into consideration, but we wanted our work to looks as good as we could manage it.

To begin our texturing recap lesson as well as to teach me some tricks in Photoshop, we decided to texture the ballroom wall together. We thought the above image would be fitting to match the craziness we wanted to portray about our characters. However, the more we looked at it the more it just didn't fit. We may have been 'oddballs' in our story but we weren't blind and this sort of wall would hardly match with anything.
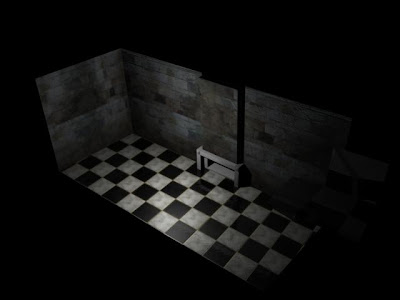
We tried again with another texture. This one was much more fitting. The pattern of the bricks were pretty bold but the colour was more neutral so that we could generate the feel of the room with the belongings instead. Next, Me and Dan R attempted to map the floor with Dan C watching to make sure we did it right. We had always imagined a black and white checkered floor, so we decided to work with this to begin with and if we didn't like it, change it. Dan R also wanted to have a gold border around each tile. This was handy as it showed me how to do slightly more complicated techniques. After this was completed we decided it would be good to add some dirt to the floor to make the room appear more deserted. Dan C couldn't work out how to do it at the time, but he was going to speak to Jaimie (technician) later on and as Dan was in charge of most technical problems and has never let a technical problem beat him (as far as I know) I wasn't too worried, as I was pretty sure he would find the answer. Which he did.
So, texturing completely alone now.....
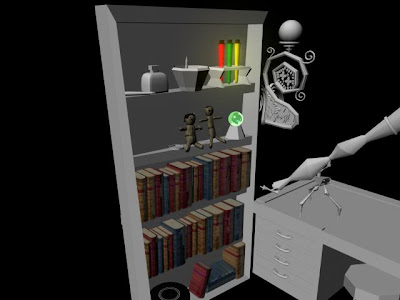
The first things I went about texturing were the books in the study as they seemed the easiest. In the storyboards you don't see the books clearly on the bottom shelf in the bookcase, so I didn't bother texturing the covers. It was when Dan C showed me his playblast that I realised you see the books much clearer than I expected, so I had to go about re-texturing the covers.
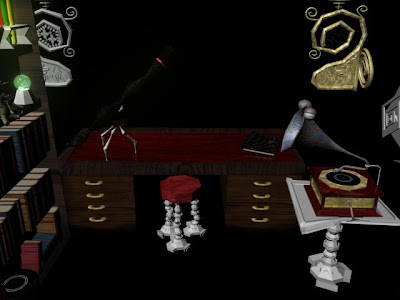
I experimented with making the top of the table red, instead of the brown that I had always planned on using. I changed my mind, back to my original plan once seeing this as I wanted the desk as plain as possible to make the other objects and Chester stand out. On the right is a partly finished gramophone. Making the rust on his face was a challenge, as I was combining different textures alone in Photoshop and I struggled a bit. However, after completing that object, I felt much more confident making the other textures, and after that, no other object posed as much of a problem, so I was happy.

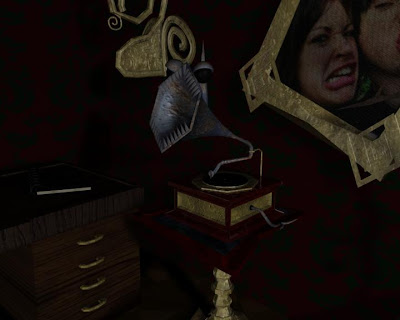
The gramophone textured and my Christmas tree!! Urch in the background you can see my ugly face! In the whole 'painting', Dan R is with me pulling an equally hideous face, but unfortunately for me, in the final shots all you can see is my ugly mug!

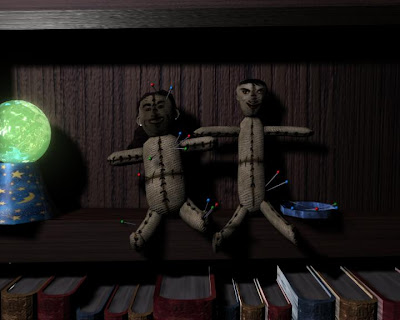
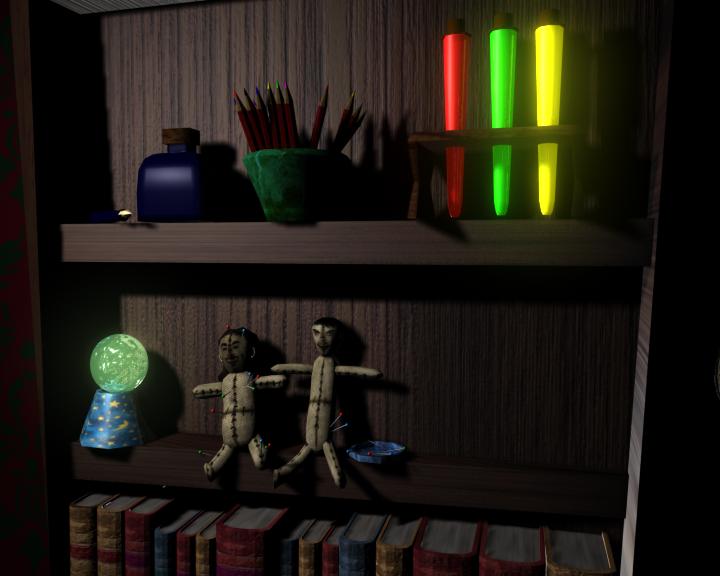
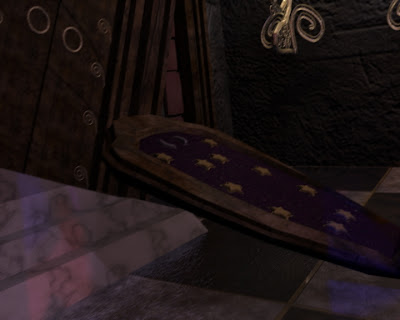
The voodoo dolls.
 Beginning to texture the steps...
 The steps without the rest of the texturing and no lighting.....
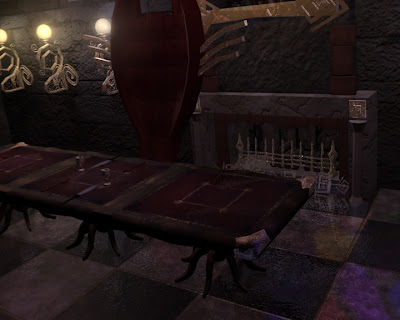
My evil chair and cutlery. Dan R's original dining table was green, but when he sent me a screenshot I didn't think it went with the ballroom as it looked like a pool table. He tested it red and it went much better with our colour scheme!!

This is Dan R's chair. I finished all my texturing and went on to help complete some of his. His exterior was taking longer than he planned as he had larger objects to texture so I took care of a few of his objects. The chair being one.
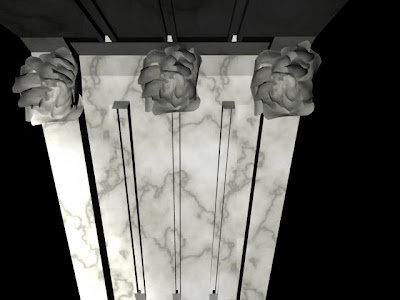
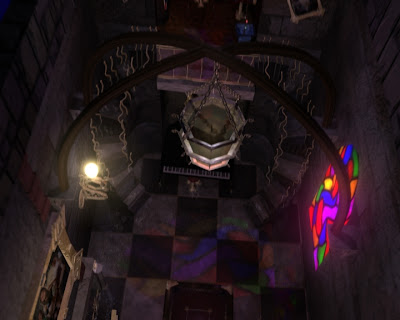
The above shows brackets to support the beams that tower over the ballroom. I realised after making them and texturing them, then seeing the playblast later on that when you have a deadline you really should take more seriously into consideration what objects are going to be seen alot by the camera. Still, it was more texturing practise and I guess its detail that helps to make a good piece. Well, that's what I keep telling myself!
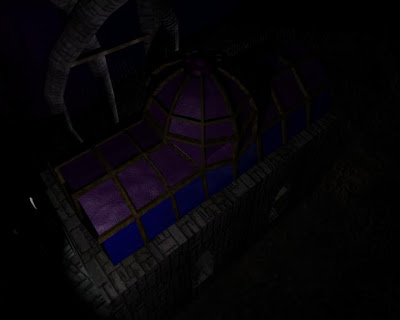
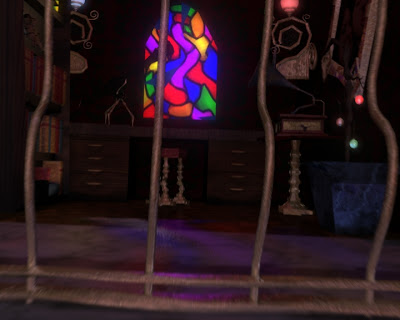
In the above image, you can see part of the dome that I textured. It was tricky getting the bump to work as well as I imagined because the glass was purple and blue and with the bump it looked like a massive sweet wrapper. After a while I think I managed to get the right balance between colour and bump.
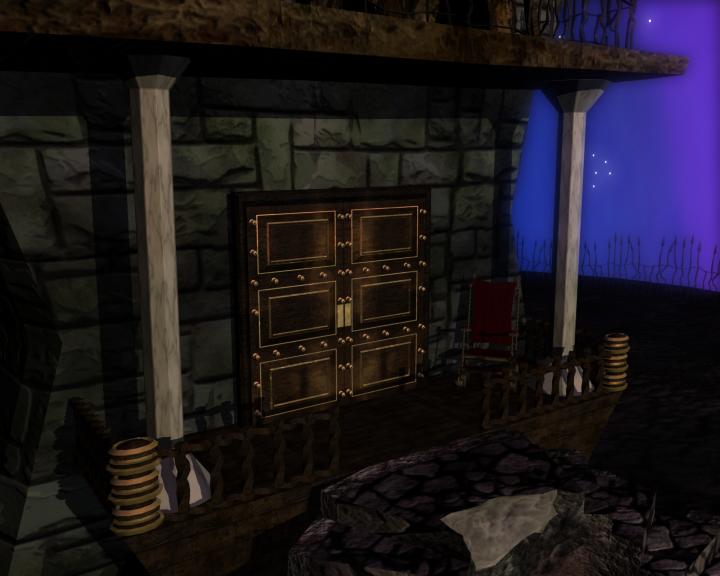
My Hillbilly style porch with rocking chair and pillars. i also textured the door:


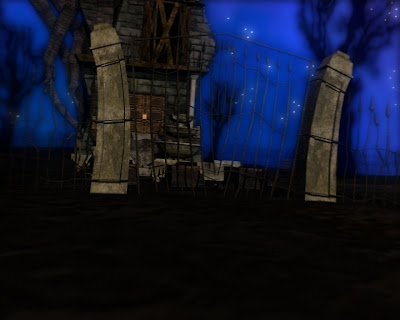
I textured the gates while Dan C textured the concrete posts. You can also see trees in the background. Me and Dan C made these from a spooky tree picture we took just before we went Zorbing in the summer. The pic is in one of my other posts- you cant miss it. Twas like it was meant to be.....
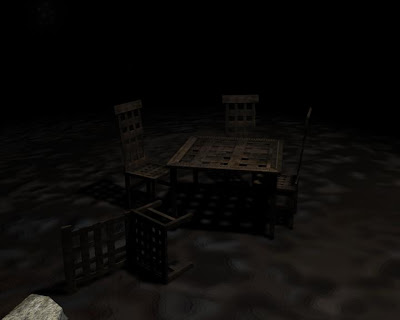
I textured Dan R's garden furnature. As this was the last thing I textured, I feel it came out the best compared to my other objects.
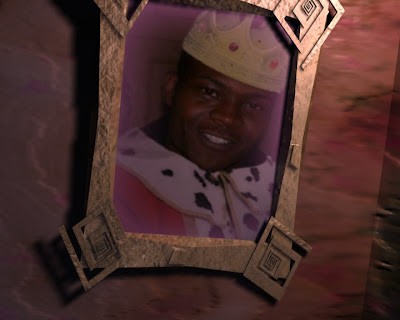
Our Not-so-Prince-Charming! Elisha Photoshopped the picture of our friend Prince, while I supplied the frame to keep some continuity within the different rooms!